
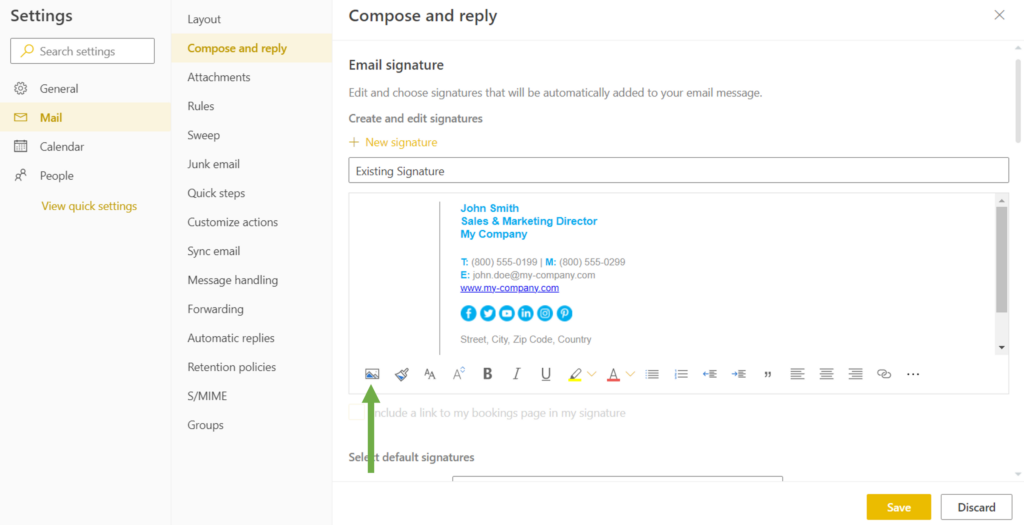

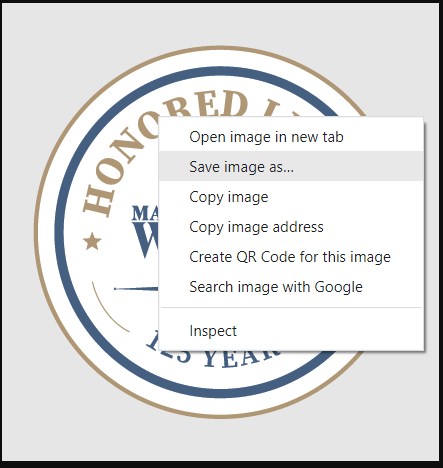
4b. If the above doesn’t work, click on Social Media to see how to save image to computer and then follow this step instead of 4a. Click on the ‘Insert Pictures Inline’ button and select the image of the badge from the saved files on your computer.


5b. If the above doesn’t work, click on Social Media to see how to save image to computer and then follow this step instead of 5a. Click on the ‘Insert Pictures Inline’ button and select the image of the badge from the saved files on your computer.


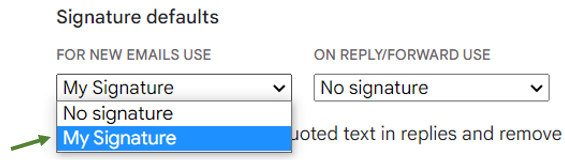
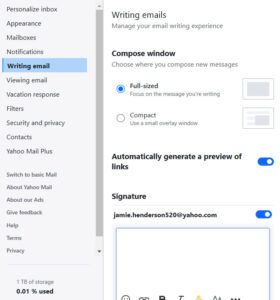
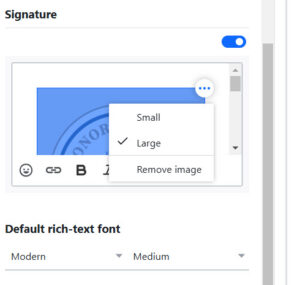
Signature – Yahoo:

3. Create an src attribute that will be used to specify the URL of the badge.
It’s recommended that you add an ALT tag that contains the alternative text for the badge.
Below is a SAMPLE code. Please replace the URL with your badge URL.


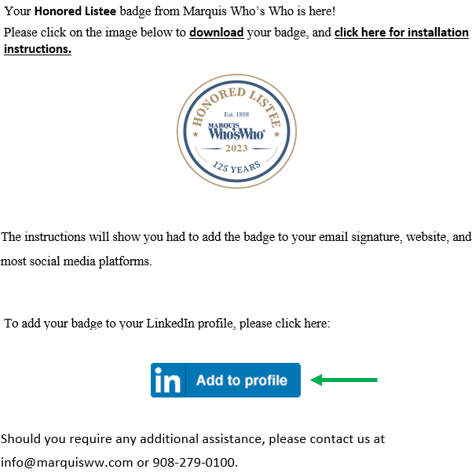
1b. If the button click doesn’t lead you directly to your LinkedIn profile, you can alternatively right-click on the button and select “Copy Hyperlink.”
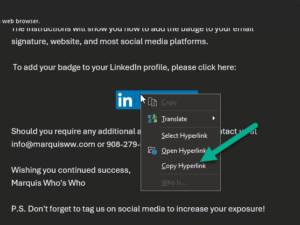
Then Open a browser and paste the URL.
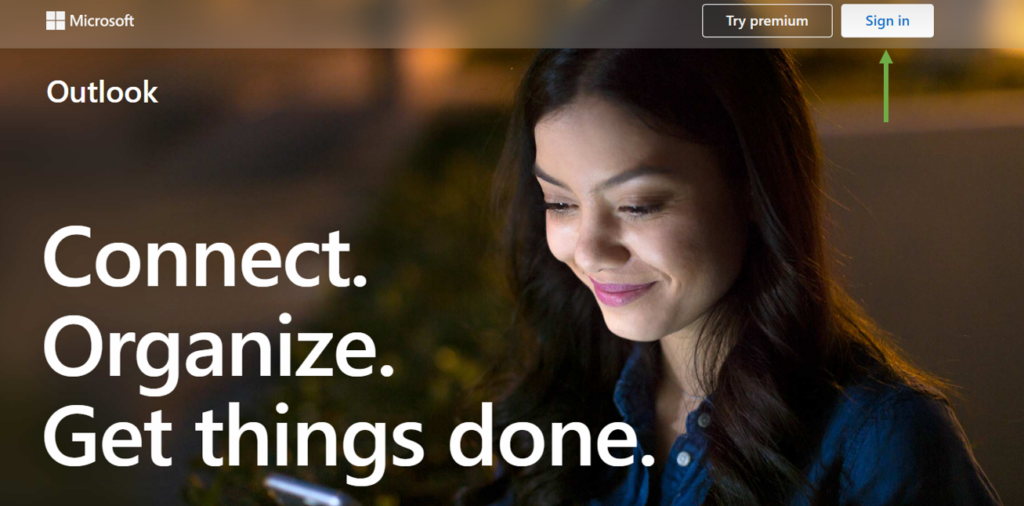
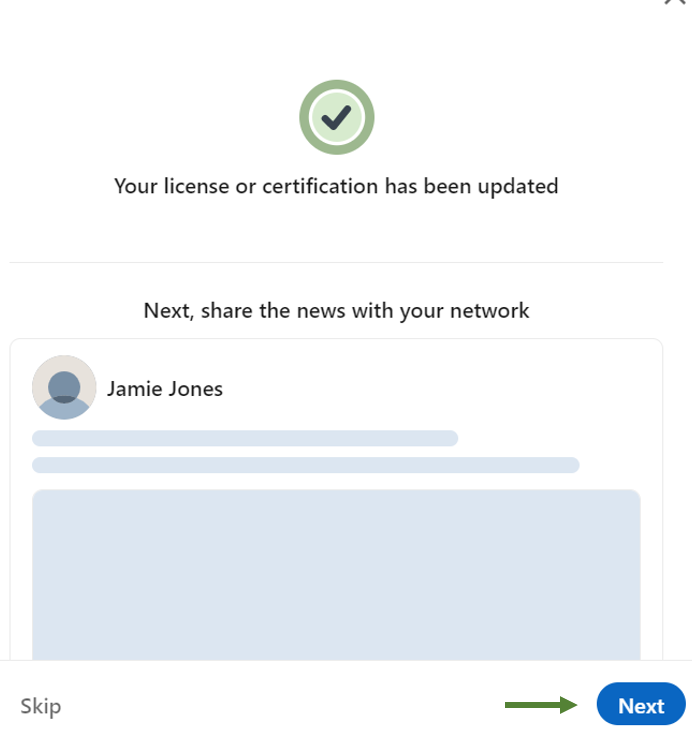
Open your LinkedIn profile.
Scroll to the Licenses & Certifications section.
If the section isn’t visible, click “Add profile section” → “Recommended” → “Add licenses & certifications.”
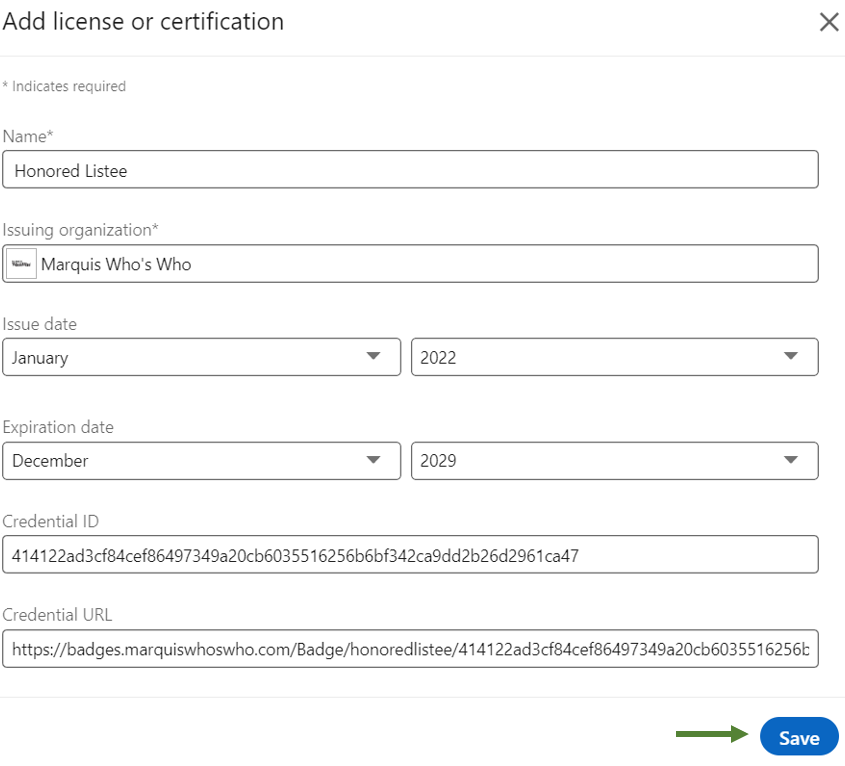
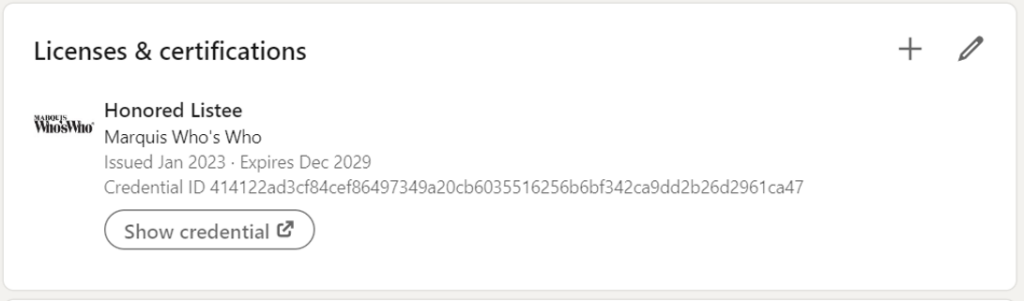
Once you’ve accessed the form, complete the fields as follows:
Name: Honored Listee
Issuing Organization: Marquis Who’s Who
Issue Date: Use the date the original email was sent
Expiration Date: Leave blank when entering the information manually
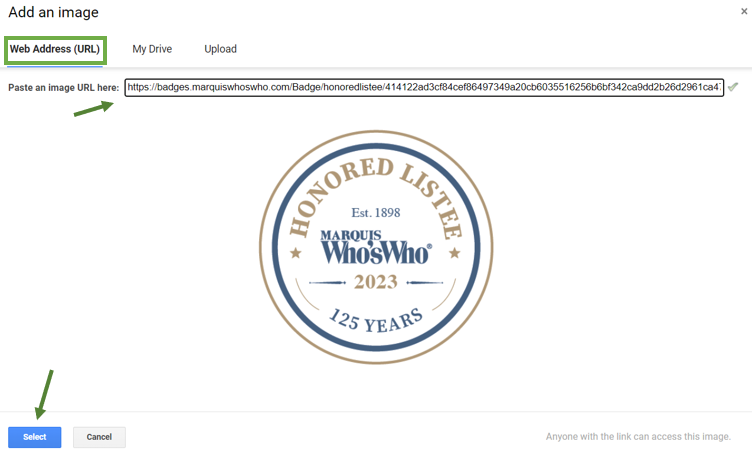
Credential ID: The string of characters that appears after the badge URL:https://badges.marquiswhoswho.com/Badge/honoredlistee/
Credential URL: Your full badge link, beginning with:https://badges.marquiswhoswho.com/Badge/honoredlistee/...
![]()

Option 2 iPhone or iPad: